Learn web scraping with Python in minutes: The basics using selenium

learn web scraping with python

If you’re looking for a super simple, quick, yet comprehensive introduction to web scraping, you’ve come to the right place.

What will you learn?

This is a beginners guide to learn web scraping using the selenium python package.  No previous knowledge of web scraping is needed, although you need some familiarity coding in python and to know how to read HTML.

This tutorial will go through an example of exporting search results data from the job search website “indeed.com” and save the results to a file. Follow this step by step and in no time you’ll know enough about web scraping to begin writing your own applications!

What is web scraping and why use it?

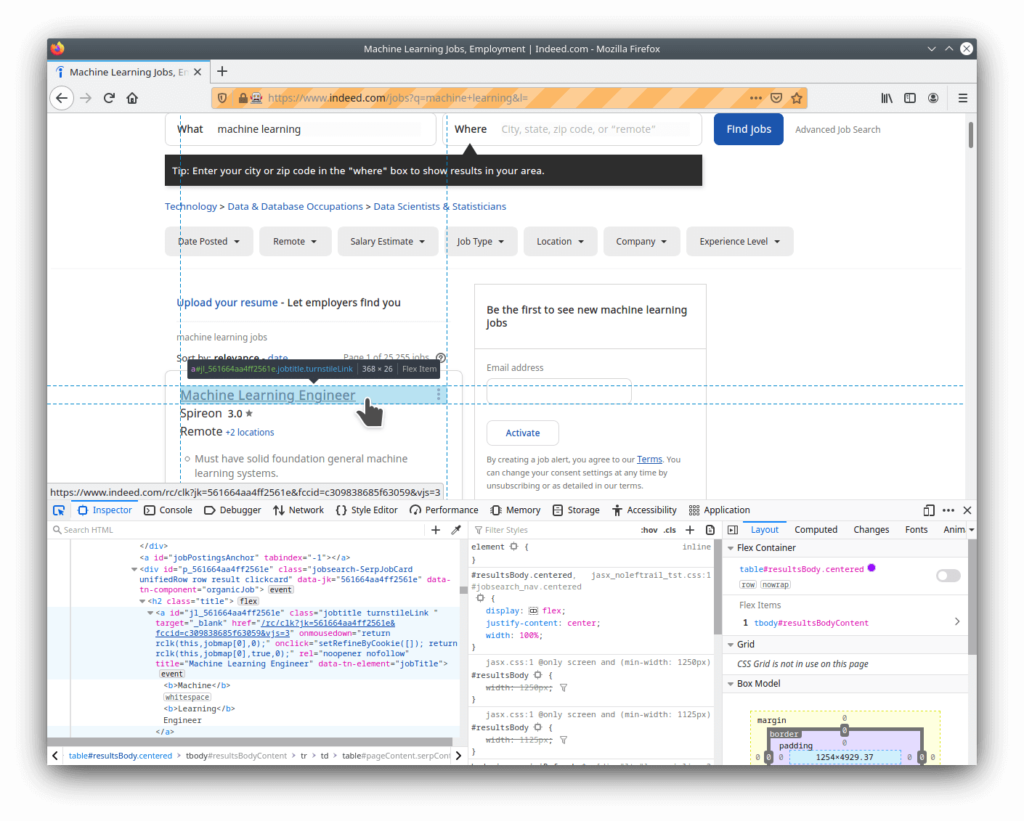
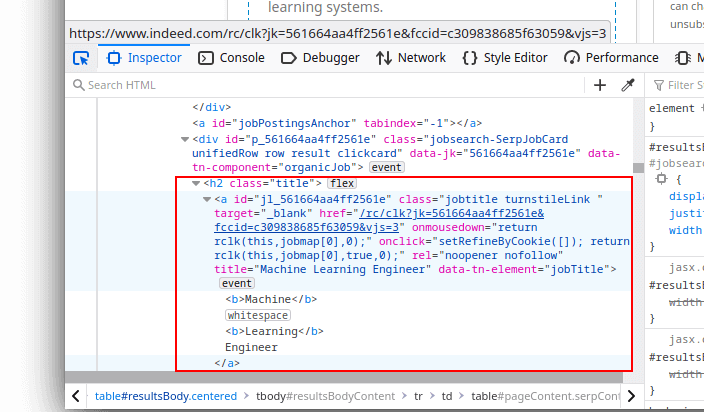
Web scraping is all about extracting (or “scraping”) data from websites. Websites consist of HTML pages and a web scraper will fetch the HTML of the page directly and manipulate it according to the requirement. Some manipulation can include exporting data, searching for data or reformatting the page contents.

Although this process can be done manually, the ability to web scrape using software programs is useful in all kinds of situations. For example, if there’s a systematic repetitive task you often perform on the web, it can be automated by writing a web scraping application. 

Some web scraping applications include:

  • Website testing
  • Monitoring trending news
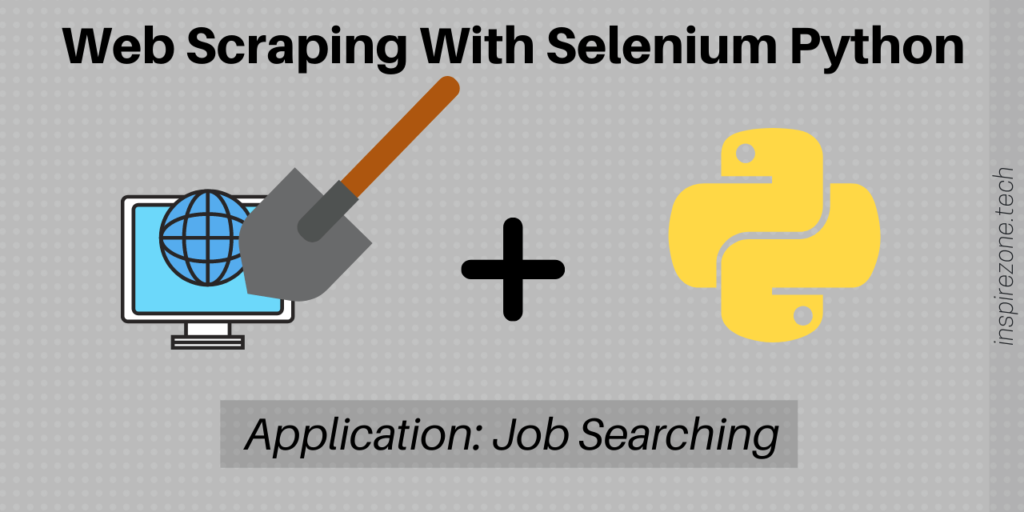
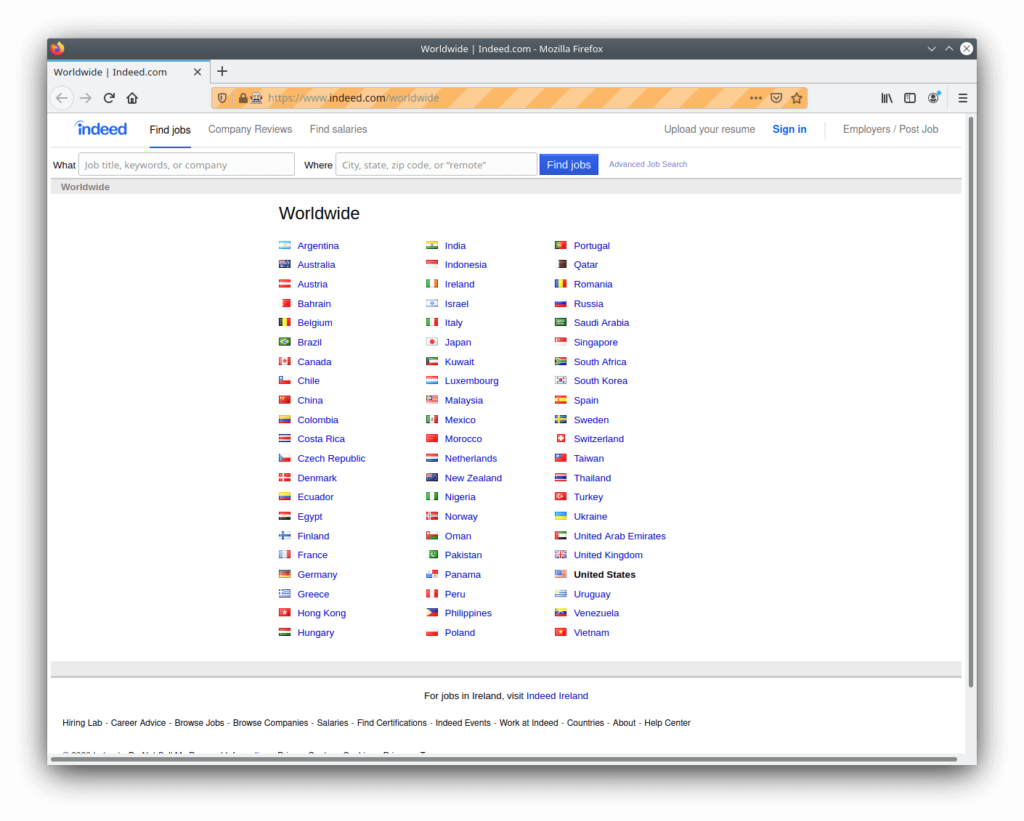
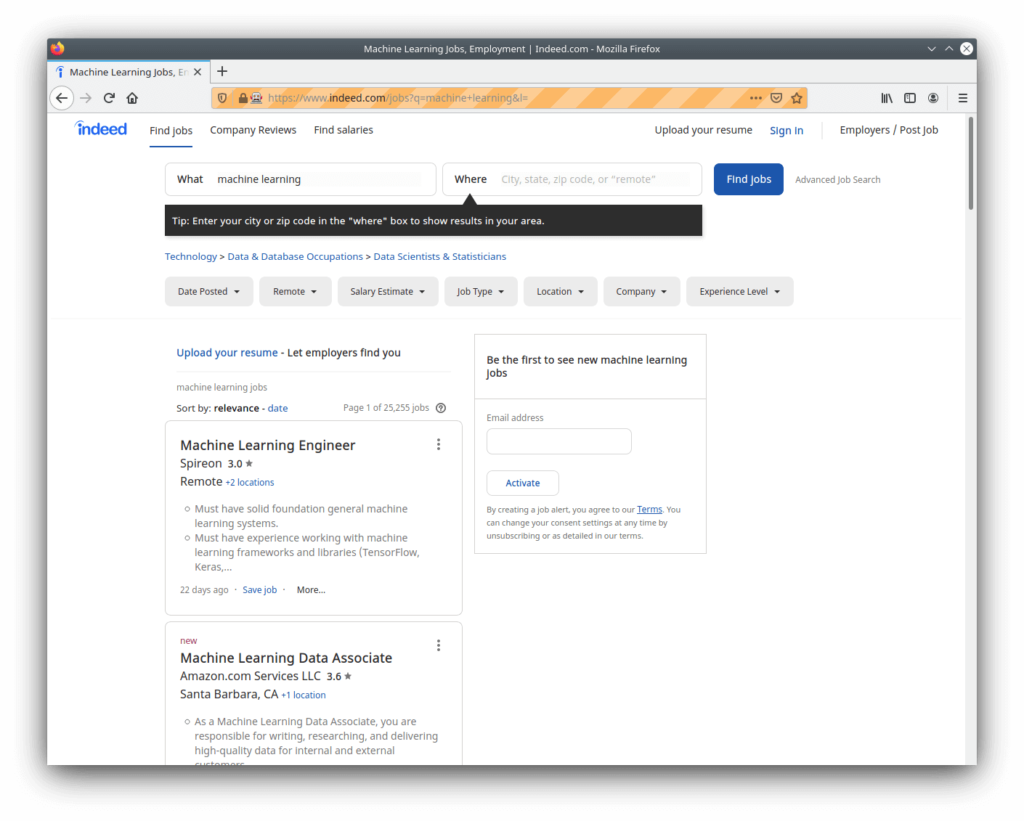
  • Monitoring job listings
  • Price monitoring of a product on a web page
  • Automating any repetitive or tedious web based task

Typically, if you can perform a task manually using a web browser, the same task can be performed using a web scraper. With the power to speed up and automate such tasks through a software program, a web scraper has countless capabilities. 

It’s very useful for developers to learn web scraping. It’s great for testing web based tasks and you can be creative on what you choose to scrape for automation purposes or just for fun!

Tutorial: Developing a job listings web scraping application

You can find the source code used for this tutorial on the inspirezone Github page.

Now we know a bit about what web scraping is used for let’s get started with showing a practical example. Let’s learn web scraping by creating a simple application to:

  • Launch the job search website “indeed”
  • Search for “machine learning” in the job search bar
  • Export to a file, the job title and link to the job description from the first search result page

To simplify things we’ll divide the process of web scraping into 3 main parts.

  • Step 1: Setup and configuration
  • Step 2: Open desired web page
  • Step 3: Extract web page data

Step 1: Setup and configuration

Before writing any code we need to set up all tools and packages necessary to run our web scraper.

Download browser driver

A web scraper uses a browser driver to manipulate web pages. 

First, you need to have a normal web browser installed. Then you need the corresponding driver for the browser.

Download the driver for the browser of your choice. We’ll show you how to use Chrome and Firefox so download the driver for either of them.

Note: check the browser version you have installed and pay attention to the driver version you need to download to work with the browser. The recommendations are detailed in the above download pages for the geckodriver and chromedriver.

Checking the Firefox version. Open menu -> Help -> About Google Firefox.
Checking the Chrome version. Open menu -> Help -> About Google Chrome.

Install Selenium Python package

Selenium is an open source web automation tool and is the package we’ll use to automate the web browser interactions using python. 

If you don’t already have python installed, run the following commands:


sudo apt-get install python

sudo apt-get install pip

Then install the selenium package by running:


pip install selenium


Test your setup

Let’s now write some code to show our setup is correct. Create a python file e.g. “web-scraping.py” and copy the following code:

For Firefox:

from selenium import webdriver
 
def indeed_job_search():
     
    PATH_TO_DRIVER = './geckodriver'
 
    browser = webdriver.Firefox(executable_path=PATH_TO_DRIVER)
 
if __name__ == "__main__":
    indeed_job_search()
 

For Chrome:


from selenium import webdriver

def indeed_job_search():
    
    PATH_TO_DRIVER = './chromedriver'

    browser = webdriver.Chrome(executable_path=PATH_TO_DRIVER)

if __name__ == "__main__":
    indeed_job_search()
 

Explanation:

  • Import the selenium python package.
  • Set the path to your browser driver. For this example, the driver is located in the same directory as the python file.
  • Execute the driver, thus launching the browser.

To test what we have so far run the python program using:


python web-scraping.py

learn web scraping with selenium python

Once you’ve seen the browser window open, all is good and you can continue to the next steps.

Step 2: Open desired web page

Launch Indeed.com

Opening a web page is straightforward with selenium. (The code that follows is the same for both Chrome and Firefox but we’ll show Firefox in the code examples and screenshots)

Add to the python file:


browser.get('https://www.indeed.com/worldwide')

Explanation:

  • Open the specified URL within the browser driver.

Run the python program and the URL will load.

Making sure page is loaded

When opening a URL or navigating to a new page, it’s good practice to give time for the page to fully load before performing any action on the page being loaded. Without this, we may see situations when we try to find an element but the page has not fully loaded. If this happens an exception will be thrown.

There are various ways we can use to give time for pages to load. For this application we’ll use an implicit wait

This will basically allow the driver to retry finding an element up until the timeout we specify. 

Let’s give the page 5 seconds to load, add the following:


browser.implicitly_wait(5)
 

Explanation:

  • If the element we are querying in the code that follows is not found, keep trying for 5 seconds before timing out.

Get search results

The next step is to search for “machine learning” in the search bar on the main page. This is when HTML manipulation comes in.

First, we need to know which HTML element to manipulate. Within the browser, open the inspect element tool. Using this we can see the HTML elements of the entire page.

Right click on the browser window and select the inspect element tool (Firefox)
The inspector tool allows navigation through the HTML of each element on the web page

Next, start the element selector either by clicking the icon shown below or by pressing “Ctrl+Shift+C”. This allows you to quickly find the HTML for any section on the page by clicking on the desired section.

We want to find the HTML for the search bar so click on the search bar while the element selector is enabled.

Using the element selector on the indeed.com web page

This highlights the HTML element for the search bar. 

The search bar is the above input HTML element

We’ve now located the element we wish to manipulate.

To manipulate this element using selenium, there are several options using the available find element methods. Some of these methods include the following:

  • find_element_by_id
  • find_element_by_name
  • find_element_by_xpath
  • find_element_by_link_text
  • find_element_by_partial_link_text
  • find_element_by_tag_name
  • find_element_by_class_name
  • Find_element_by_css_selector

For details on how each of these methods work and a comprehensive list of all methods provided by selenium, see further documentation at selenium-python.readthedocs.io

Let’s use the “find_element_by_name” method. The element for the search bar shows the name is represented as “q”.

Add to your python file:


search_bar = browser.find_element_by_name('q')
 

Explanation:

  • Find the specified element on the web page by the element name. 
  • “search_bar” is now of type WebElement, which represents the HTML element for the job search bar. 

Next, let’s use selenium to type in the search term “machine learning” into the search bar and press the ENTER key to start the search.  

We need to import the selenium “Keys” class that will allow us to simulate keyboard presses.

Add the following import to the python file.


from selenium.webdriver.common.keys import Keys


Explanation:

  • Import the Keys class to allow simulation of keyboard presses.

Now we can add the following to the python file to manipulate the search bar.


search_bar.send_keys('machine learning')
search_bar.send_keys(Keys.ENTER)
 

Explanation:

  • Type “machine learning” into the value of the element
  • Simulate pressing the ENTER key

Since we are navigating to another page, add another implicit wait to give 5 seconds for the page to fully load:


browser.implicitly_wait(5)
 

Your python file so far should look like this:


from selenium import webdriver
from selenium.webdriver.common.keys import Keys
  
  
def indeed_job_search():
      
    PATH_TO_DRIVER = './geckodriver'
  
    browser = webdriver.Firefox(executable_path=PATH_TO_DRIVER)
  
    browser.get('https://www.indeed.com/worldwide')
  
    browser.implicitly_wait(5) 
  
    search_bar = browser.find_element_by_name('q')
    search_bar.send_keys('machine learning')
    search_bar.send_keys(Keys.ENTER)
  
    browser.implicitly_wait(5) 
  
if __name__ == "__main__":
    indeed_job_search()
     

Run the python program and the driver should now open up the indeed website, type in “machine learning” into the search bar and open the search results page.

indeed.com job search results page

Step 3: Extract web page data

Now that we’ve navigated to the desired web page we can begin extracting the data.

Parse web page data

We want the job title and link to the job description of each search result so let’s find out how this is contained as HTML on the page. 

Open up the element selector tool in the browser once again and click on one of the search results headings.

Using the element selector on the indeed.com search results page

We can see each job title is contained as an “a” element nested within an “h2” element.

If you use the element selector on each job title of the search result you will see they all follow the pattern:

<h2 class="title">
<a ... href="link" ...> Job title here </a>
</h2>
The job title and link for each search result is represented the same way.

To find all job titles returned by the search results, we therefore need to find all “a” elements that are nested within “h2” elements.

We’ll use the method “find_elements_by_xpath” to specify the pattern we are looking for.

Note the plural “elements” in the method. The selenium methods for finding elements all have plural equivalents that will return a representation of all elements on the page matching the query.

Add to the python file:


search_results = browser.find_elements_by_xpath('//h2/a')
 

Explanation:

  • Find all elements on the page that are “a” elements nested within “h2” elements.

“search_results” now holds a list of WebElement for each job returned in the search result. We can loop through the list and use the following methods to extract the job title text and job description link from the WebElement:

 for job_element in search_results:

        job_title = job_element.text
        job_link = job_element.get_attribute('href')


Explanation:

  • Loop over each element of the job search results
  • Get the text value of each element
  • Get the href of each element

This will return the job title and link of each search result on the page.

Save results to a file

We can extract the data we need, now let’s export it to a file in a specified format.

We’ll use the pattern “job_title | link: job_link” and print each result to the file.

First, add the file we will write to before the loop:


file = open("job_search.txt", 'a')
file.write("\n")

Explanation:

  • Open file for appending
  • Write new line to file

Then add the following line within the loop:


file.write("%s | link: %s \n" %(job_title, job_link))
 

Explanation:

  • Write the contents of the results to the opened file 

After the loop, we’ll also add a line to close the browser as we’re now done with it:


browser.close()


Explanation:

  • Close the browser

Here’s the final python file for this application:

from selenium import webdriver
from selenium.webdriver.common.keys import Keys


def indeed_job_search():
    
    PATH_TO_DRIVER = './geckodriver'

    browser = webdriver.Firefox(executable_path=PATH_TO_DRIVER)

    browser.get('https://www.indeed.com/worldwide')

    browser.implicitly_wait(5) 

    search_bar = browser.find_element_by_name('q')
    search_bar.send_keys('machine learning')
    search_bar.send_keys(Keys.ENTER)

    browser.implicitly_wait(5) 

    search_results = browser.find_elements_by_xpath('//h2/a')

    file = open("job_search.txt", 'a')
    file.write("\n")

    for job_element in search_results:

        job_title = job_element.text
        job_link = job_element.get_attribute('href')

        file.write("%s | link: %s \n" %(job_title, job_link))

    browser.close()

if __name__ == "__main__":
    indeed_job_search()
    

Run the program, the exported file will be located in the same directory as the python program. Here’s a sample of how this file will look like:

Conclusion

This was a quick example of using selenium with python you can follow to learn web scraping. We’ve gone through an application of exporting the search results from a job website which has covered the basics of web scraping.

This is just one simple application of web scraping. Feel free to use it as a template for any similar web scraping application you might want to build.

Happy coding!

To get involved in developing software applications like this checkout our Github repository and contribute to one of our open public projects. Also consider joining our community and learn with like-minded developers!