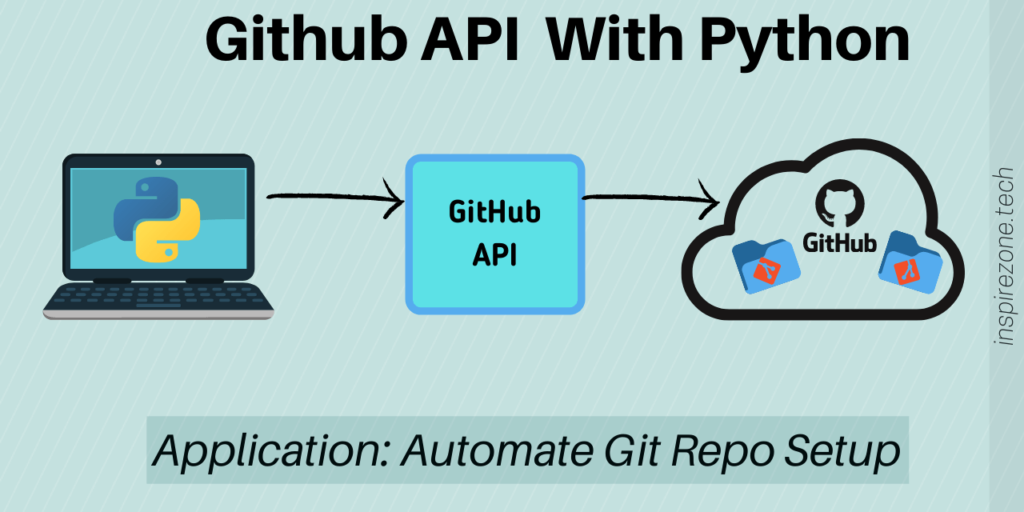
The Github API provides an interface that allows performing functions and retrieving data from Github through a software application. This is useful for automating actions we often perform on the Github website.
What better way to get used to Github API using a practical example! We’ll go through how to interact with the Github API to automate git and create a local repository and sync it with a remote repository on your Github account.
A basic understanding of the python programming language and knowledge of git command line is needed.
The complete source code for this program is available on the inspirezone Github repository.
Python concepts used in this tutorial
- Parsing configuration files
- Running terminal commands in python
- Interacting with the Github API using curl
- Parsing JSON
Brief background - what’s an API?
An API (Application Programming Interface) is a set of instructions that allows a software component to interact with another component providing a service. You can think of APIs like a middleman that defines the rules and protocols to allow a client to access a particular service.
In terms of the Github API, it provides an interface for your software application (the client) to obtain data from Github (the server). See the official Github API docs for a full reference manual of all functions provided by the API and instructions on how to access them. We will cover some of these functions in this tutorial.
Program flow
To follow along you can find the complete source code for this tutorial on the inspirezone Github repo.
A summary of the program flow is as follows:
- Get user configuration settings from config.ini file
- Initialize a local git repo
- Create a file and commit to the local repo
- Create a repo on Github
- Get origin URL for the created repo on Github
- Push the local repo files to Github
- Run final command specified by the user
Source code break down
We will break down each of these steps with the relevant snippet of code.
1. Get user configuration settings from config.ini file
All the settings needed to run the program are defined by the user in the config.ini file. Here is an example of how the config.ini file should be configured:
[your_settings]

; enter your github token for authorization purposes
github_token = 0000111122223333444455556666777788889999

; directory to create the repo on your computer
directory = /pathto/yourfolder/

; name of the repo
repo_name = your_repo_name

; first committed file
commit_file = README.md

; first commit message
first_commit_msg = first commit

; your github user name
github_name = your_github_name

; optional final command to run in repo directory e.g. "code ."
cmd = code .
To parse this file we will use the python configparser module. The config.ini file allows the user to enter their custom settings which we can read using the configparser module.
First import the module using:
from configparser import ConfigParser
By passing the config.ini file into the ConfigParser class we can read each setting in the file and store it within variables to be used throughout the program.
# config file contains user settings
config_file = 'config.ini'
config = ConfigParser()
config.read(config_file)

# get all settings from config file
access_token = config.get('your_settings', 'github_token')
repo_name = config.get('your_settings', 'repo_name')
first_file = config.get('your_settings', 'commit_file')
msg = config.get('your_settings', 'first_commit_msg')
github_name = config.get('your_settings', 'github_name')

pc_directory = config.get('your_settings', 'directory')
repo_directory = pc_directory + '/' + repo_name
2. Initialize a local git repo
Next we want to initialize a repo at the local directory specified by the user.
This can be done by running git commands which we can perform through the python subprocess module.
We also import the Path class from the pathlib module to determine if a file or directory already exists before creating them.
import subprocess
from pathlib import Path
To run a command using subprocess the syntax is as follows:
subprocess.run([command, arguments])
We first check the directory specified by the user doesn’t exist using the exists() function from pathlib. If it doesn’t exist, we create the folder using the mkdir command, passing in the directory specified by the user in the config file as the argument.
def create_local_git_repo():

   # create directory if it doesn't exist
   check_dir = Path(pc_directory)
   if check_dir.exists():
       print("Directory exists. Skip create directory")
   else:
       subprocess.run(["mkdir", pc_directory])
Next we do the same for the repo folder specified by the user. If the repo folder doesn’t already exist at the directory specified we create it. We then run git init within the directory to initialize the repo.
# create repo folder if it doesn't exist
   print("Creating repo: %s" % repo_directory)

   check_repo = Path(repo_directory)
   if check_repo.exists():
       print("Repo already exists. Skip git init")
   else:
       subprocess.run(["mkdir", repo_directory])
       # init repo
       subprocess.run(["git", "init"], cwd=repo_directory)
3. Create a file and commit to the local repo
We obtain the file to create from the config.ini. For this example it’s the README.md file. Once again we check if the file exists first before creating it.
def create_local_repo_file():

   file_path = repo_directory + "/" + first_file
   print("Adding file: %s" % file_path)

   # create file if it doesn't exist
   check_file = Path(file_path)
   if check_file.exists():
       print("File already exists. Skip create file")
   else:
       subprocess.run(["touch", first_file], cwd=repo_directory)
   pass
Next, we stage the file using git add then use git commit along with the commit message specified by the user in the config.
def add_files_for_commit():

   # stage file created
   subprocess.run(["git", "add", first_file], cwd=repo_directory)
   pass


def commit_files():

   # commit file
   subprocess.run(["git", "commit", "-m", msg], cwd=repo_directory)
   pass
4. Create a repo on Github
We’ll now make use of the Github API as we are performing an action on Github.
The Github API is accessed using the HTTPS protocol. We send requests to Github over HTTPS using JSON syntax which specifies to Github the action we want to perform. Github will look at our request and respond to our program with a JSON response.
If our syntax is correct and we have the proper access rights, Github will process our request and respond with the requested data. If anything goes wrong, Github will not process our request and let us know our request failed with an error response.
To perform the HTTPS calls we will use the curl command line tool. Curl allows us to send data using network protocols such as HTTPS, so is perfect for interacting with the Github API.
Note: before making use of curl commands it needs to be installed on the PC. For Ubuntu systems install by running:
sudo apt-get install curl
For other systems see the curl installation guidelines page.
First we should get familiar with the syntax for making a Github API request to create a new repository. The syntax and instructions for accessing the API is listed in the Github API reference docs.
All Github API calls are made to the URL https://api.github.com. The protocol for creating a repository for a github user is to perform a POST call at the URL path /user/repos.
We also pass in a JSON string containing parameters for the request. In this case we’ll create a repo by specifying the name parameter along with the private parameter so the repo is generated as a private to the user.
The JSON request data will be of the format:
{"name": "NEW_REPO_NAME", "private": "true"}
We now have the POST URL and JSON data we need to send to Github to process creation of a repository through the API. But how will Github know which user account to create the repository and if we have access to it?
This is where personal access tokens come in.
The personal access token is generated from your Github account and allows a third party application like our python program to authenticate to Github when using the API. A personal access token can be generated by following the Github docs instructions here.
Note, the config.ini has a field to specify the github access token. This token is how we’ll authenticate to our Github account and perform functions like creating repositories through the API.
So now we have our access token, JSON data request and the POST URL for our request.
We will now use the curl command line tool to make the request.
The format for the request is:
curl --header 'Authorization: token YOUR_ACCESS_TOKEN' --data '{"name":"NEW_REPO_NAME", "private": "true"}' https://api.github.com/user/repos
Our python program will pass the variables containing the user config data into the appropriate fields for the access token and repo name.
def create_github_repo():

   # generate data for request, set repo to private
   repo_config = '{"name": "%s", "private": "true"}' % repo_name

   # create repo
   header = 'Authorization: token ' + access_token
   response = subprocess.run(["curl", "--header", header, "--data", repo_config, "https://api.github.com/user/repos"], check=True, stdout=subprocess.PIPE)
Following process of this API call, a private repository should now exist on the users Github account.
5. Get origin URL for the repo on Github
This next step will confirm the repo now exists on Github and save the URL of the created repo so we can push files to it.
The Github API syntax to get the list of repos held by a user is to perform a HTTPS GET request at the /user/repos path.
   # confirm repo now exists under user
   response = subprocess.run(["curl", "--header", header, "--request", "GET", "https://api.github.com/user/repos"], check=True, stdout=subprocess.PIPE)
In this case, we are requesting data from the Github API. This is returned to us in JSON format with a list of all repos that exists under our Github account. The JSON contains fields describing details of the repo such as the name, URL for the repo, description, if its a private or public repo and so on.
First we need to import the json python module so we can parse the response from the Github API more easily in our python program.
import json
We only wish to confirm the repo we created now exists in our user account and to obtain the html URL for the repo.
To do this, we will loop through the JSON response until we find the repo name we just created by checking the “name” JSON field. The “html_url” field contains the URL of the repo which we will grab when we’ve found our created URL in the JSON response.
   # convert from completed process for easier parsing
   response_json = json.loads(response.stdout.decode("utf-8"))

   # confirm repo is created and extract url
   for repo_id in range(len(response_json)):
       remote_name = response_json[repo_id]['name']

       if(remote_name == repo_name):
           print("Repo now created on github")
           remote_url = response_json[repo_id]['html_url']
           break

   return remote_url
6. Push the local repo files to Github
All our interactions with the Github API is complete at this point. In the next steps we will sync our local repo to the newly created repo on Github and push our local files to the remote.
We first add the remote url as the origin of our local repo. Because we are using HTTPS to access our remote repo we need to specify the Github username and token in the URL.
The format of our URL with the username and access token specified is:
https://YOUR_GITHUB_NAME:YOUR_ACCESS_TOKEN@github.com/YOUR_GITHUB_NAME/REPO_NAME.git
Assemble the authenticated HTTPS URL and add it using the git remote add origin command.
def add_remote_repo_url(remote_url):

   # url for repo
   server = remote_url + ".git"
   print("Repo URL: %s" % server)

   # add access token to url
   server = server.replace("//", "//%s:%s@" % (github_name, access_token))
   print(server)
   # add remote origin
   subprocess.run(["git", "remote", "add", "origin", server], cwd=repo_directory)

   return server
Next we’ll push the files in our local repo to the remote repo using the git push command.
def push_local_repo_to_remote(server):

   push_url = server
   print("Pushing to remote...")

   # push to github repo
   subprocess.run(["git", "push", "-u", push_url, "master"], cwd=repo_directory)
   pass
7. Run final command specified by the user
This final step is optional for the user. If a command is specified in the cmd field in the config.ini file, we will run it as a final step. This allows the user to run any final command they wish. In this example we will launch visual studio code in the repo directory.
We need to use the shlex module to make sure the user command is interpreted as a shell command before running.
import shlex
def run_custom_cmd():

    # run the command listed in config file
    run_cmd = config.get('your_settings', 'cmd')
    if run_cmd != "":
        print("Run custom command: %s" % run_cmd)

        # convert the user command from string to shell syntax
        cmd_split = shlex.split(run_cmd)
        subprocess.run(cmd_split, cwd=repo_directory)
    pass
Conclusion
After running the complete python program the user should now see a local repo created on their PC and a remote repo of the same name created on Github. The file created as part of the repo is pushed to the Github repo and their final command is run.
Anyone can use this script to easily and quickly generate a local and corresponding Github repo. Of course it can also be tweaked to suit an application to automate git in other ways.
Hope you learned something new from this tutorial. Don’t forget the full source code is available at the repo on our Github.
Once you’ve become familiar with this application, you can contribute to our repo to enhance it or suggest new features. View the CONTRIBUTING.md on the repo for information on how to contribute.
If you enjoyed this tutorial you may consider getting more involved in other repositories on the inspirezone Github page. Also subscribe to us using the form here to receive updates for more tutorials like these.
Happy coding!